Create a Plugin: Node Info View
Description: This guide will walk you through the steps to create a simple plugin for a new view (i.e. a Route) that displays some information about your node, updating in real time via web sockets when a new block is mined on the chain.
Goals:
- We want to create a new view using
decoratePanelthat displays our information - We want to get information about the node from the state using
mapComponentStateand pass it down to our view withgetRouteProps - We want to listen for changes to the chain tip by subscribing to the
block connectweb socket event on the bcoin node
Note that even though we're building this for a blank bPanel install, none of the steps would change if you had other plugins available. It just makes it easier to document and show the evolution of your plugin as you build it.
Building your plugin
Steps:
- Plugin Setup
- Add Plugin to bPanel
- Add Navigation
- Build the View
- Get Info from the State
- Connect to Sockets
- Publish to NPM
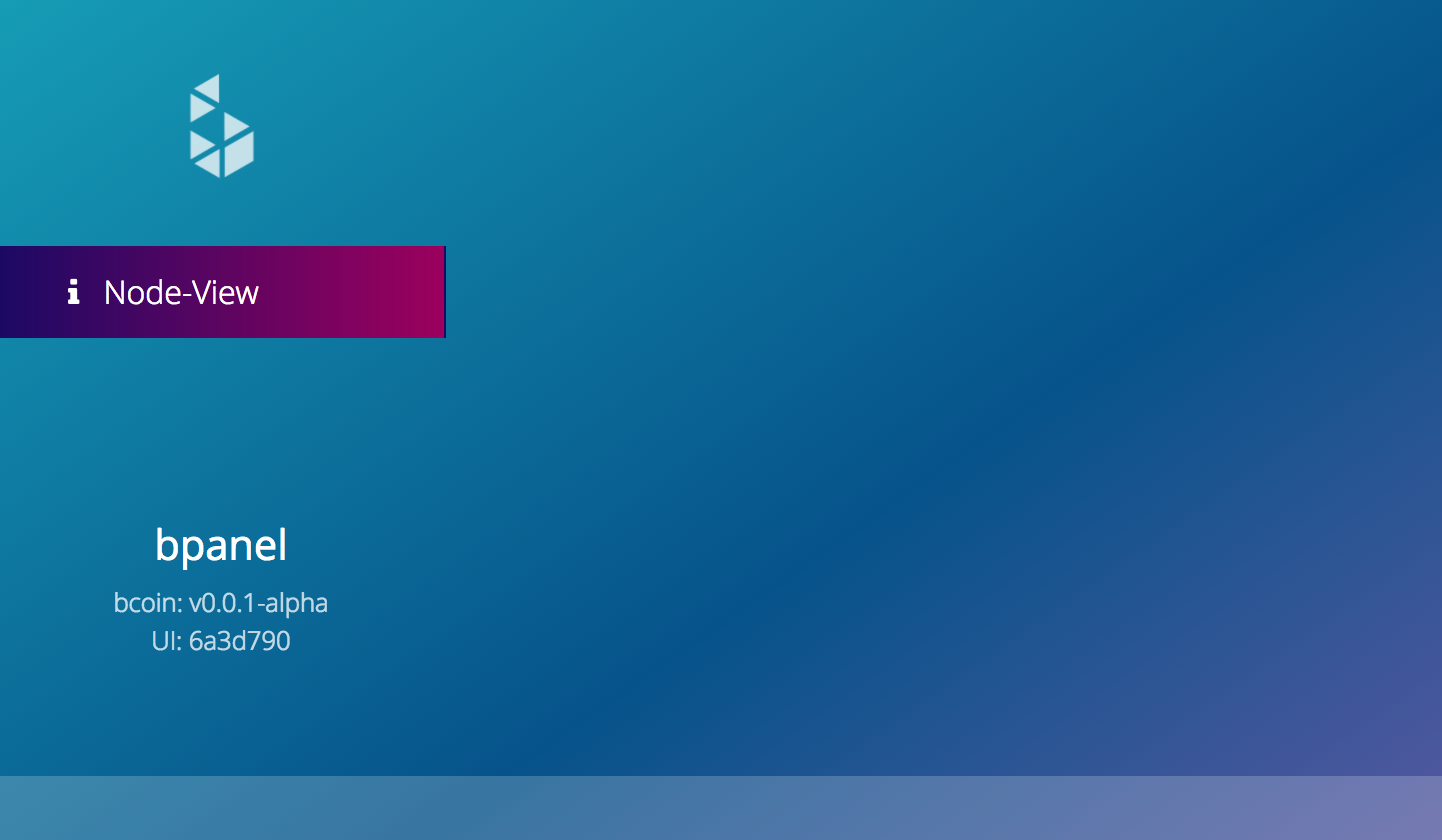
This guide will assume you're starting with a completely blank bPanel setup with no other plugins installed or enabled in appConfig.js. So, if you navigate to your bPanel in your browser, it will look something like this:
 Fresh bPanel install
We are also going to build this plugin assuming you want to publish it to npm when it's ready. This isn't strictly necessary of course, but you're going to be putting so much work into creating a beautiful plugin, why not share it with the world!
1) Plugin setup using bpanel-cli
First, make sure you've got bpanel-cli installed. In your terminal, run the following command:
npm install -g @bpanel/bpanel-cli
Next, navigate to the directory where you want to build your plugin. We are going to use npm link to make it available in our project, so this can be anywhere on your system. You could do it in bPanel as a localPlugin, but since we want to publish it later, it's best to keep the environment closer to production conditions.
cd ~/projects
Next we're going to run through the bpanel-cli script. It's going to ask you a series of questions it needs to answer in order to build the plugin. If you decide you want to change any of these later though, you shouldn't have a problem editing your project files afterwards.
$ bpanel-cli create
? Name of your plugin:  node-view
? Version (0.0.1):  0.0.1
? Author:  plugin-dev
? Name of your plugin:  node-view
? Version (0.0.1):  0.0.1
? Author:  plugin-dev
? Description:  A simple bPanel plugin to view basic information about your bcoin node
? Keywords (separated by comma):  node, blockchain, plugins
? License:  MIT
? Will your plugin depend on any other published bpanel plugins? No
? Will you be making a theme? No
? Would you like to add any additional module templates (e.g. mapComponentState, decoratePanel, reduceNode, etc.)?Yes
? Select additional modules (choose none to build yourself)decoratePanel, getRouteProps, mapComponentState, socketListeners
? Pick target component \for decoration: Panel
? Pick a target destination \for your plugin directory /Users/me/projects
Creating plugin directory...
A couple things to note:
bcoinandbpanelwill automatically be added as keywords by the script- We picked from the available module templates to spec out our plugins' exports:
decoratePanel,getRouteProps,mapComponentState, andsocketListeners. You are not committed to these though and can always remove them and/or add more in your plugin's index.js (we addmiddlewarelater in this demo to demonstrate). - The destination defaults to our current directory so we are good to go there.
2) Add the plugin to your local bPanel
First navigate to the plugin in your terminal
cd ~/path/to/node-view/
Next we want to link our plugin to our local bPanel install by running npm link in the plugin directory and then navigating to bPanel and linking our plugin.
npm link
cd path/to/bpanel
npm link node-view
Next, we're going to want to add node-view to our list of plugins in the configuration file (the default location is ~/.bpanel/config.js):
// `~/.bpanel/config.js`
export const localPlugins = [
  // any local plugins you have
  ...
];

// other plugins can be added to this list
export const plugins = ['node-view'];

export default { localPlugins, plugins };
If you're already running webpack with the watch flag (e.g. with npm run start:dev), you'll want to stop that process and restart it. A script will run to prepare and build all your plugins so that they will be accessible to bPanel. You can also run make watch in your plugin directory to watch for changes there.
cd path/to/node-view
make watch
And in another terminal session...
cd path/to/bpanel
npm run start:dev # make sure to run after you've added the plugin name to the config
3) Add navigation
Right now if you go to bPanel in your browser you still won't see anything. But that's because we haven't built out any view components or navigation.
Let's start by adding a link to our new view to the sidebar.
Back in our node-view directory, we want to open up index.js. This is where all of our editing will be. Let's first look at metadata which should look something like this:
// lib/index.js
export const metadata = {
  name: 'node-view',
  author: 'plugin-dev',
  description: '',
  version: require('../package.json').version
};
Add two properties to this object: sidebar and icon.
// lib/index.js
export const metadata = {
  ...
  sidebar: true,
  icon: 'info' // this can be any font awesome icon you want
}
Now if you run npm run babel in your plugin directory and refresh bPanel in your browser, you should see a link to your view!
 Your plugin is now available in the sidebar!
4) Build the view
To leverage the theming built into bPanel, let's use the bpanel-ui React component library to build out our view.
First run
npm install --save-dev @bpanel/bpanel-ui react
(Note: you may also want to add react and bpanel-ui to your peerDependencies in your package.json to indicate that your plugin requires those when being used)
Now, at the top of our index.js let's import some components we'll be using and React so babel knows how to build the components, and further down (or in a separate file if you want) we can build our component.
// lib/index.js
import React from 'react';
import { Header, Text } from '@bpanel/bpanel-ui';

const NodeInfo = () => (
  <div>
    <Header type="h2">Node Info</Header>
    <Text type="p">Network:</Text>
    <Text type="p">Height:</Text>
    <Text type="p">Progress:</Text>
  </div>
);
...
Next, add the component to decoratePanel. Note that we are uncommenting the routeData declaration and adding our new component, and also replacing the customChildren prop with our own that adds our routeData to the other views.
// lib/index.js
// ...
export const decoratePanel = (Panel, { React, PropTypes }) => {
  return class extends React.Component {
    static displayName() {
      return metadata.name;
    }

    render() {
      const { customChildren = [] } = this.props;
      const routeData = {
        metadata,
        Component: NodeInfo
      };
      return (
        <Panel
          {...this.props}
          customChildren={customChildren.concat(routeData)}
        />
      );
    }
  };
};
// ...
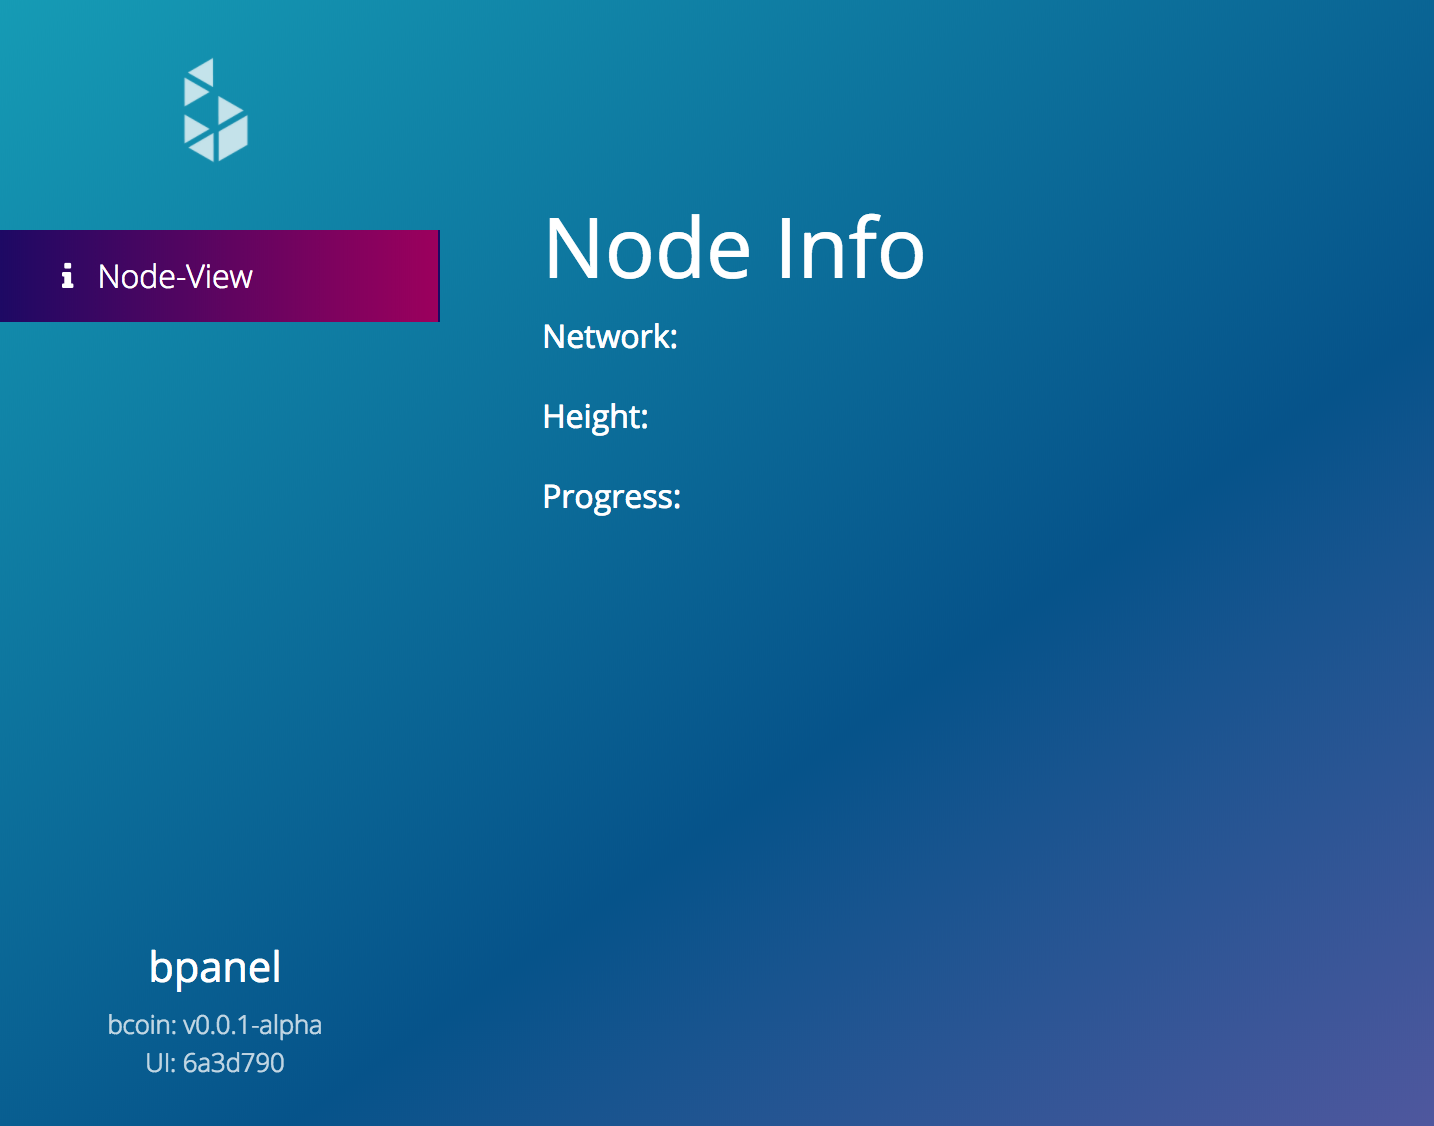
Now, build your plugin again, wait for bpanel's webpack to catch up, then reload bpanel in your browser, navigate to your plugin path, and you should see your view in the panel area!
 Your plugin now has a view!
5) Get info from the state
So now we have a view, we just don't have anything to display there. For this, all we have to do is use mapComponentState to get the information we're interested in and use getRouteProps to pass that information down to our route.
Using redux developer tools in our browser console, we know the information we want looks something like this:
state: {
  node: {
    node: {
      ...,
      network: ...
    }
  },
  ...,
  chain: {
    height: ...,
    progress: ...,
    ...
  }
};
So, let's update the mapComponentState export in index.js to look something like this:
// lib/index.js
// ...
export const mapComponentState = {
  Panel: (state, map) =>
    Object.assign(map, {
      network: state.node.node.network,
      height: state.chain.height,
      progress: state.chain.progress
    })
};
// ...
Then, let's make getRouteProps pass those props down to our route:
// lib/index.js
...
export const getRouteProps = {
  [metadata.name]: (parentProps, props) =>
    Object.assign(props, {
      network: parentProps.network,
      height: parentProps.height,
      progress: parentProps.progress,
    })
};
...
The last step is to display this information in your component.
// lib/index.js
//...
const NodeInfo = ({ network, height, progress }) => (
  <div>
    <Header type="h2">Node Info</Header>
    <Text type="p">Network: {network}</Text>
    <Text type="p">Height: {height}</Text>
    <Text type="p">Progress: {progress}</Text>
  </div>
);
//...
getRouteProps takes care of passing the props down to the Component you set as the main route for your panel view so all you have to do is add them to your component's function signature and add them to the JSX (in a real application, you'd also probably want to add PropType validation).
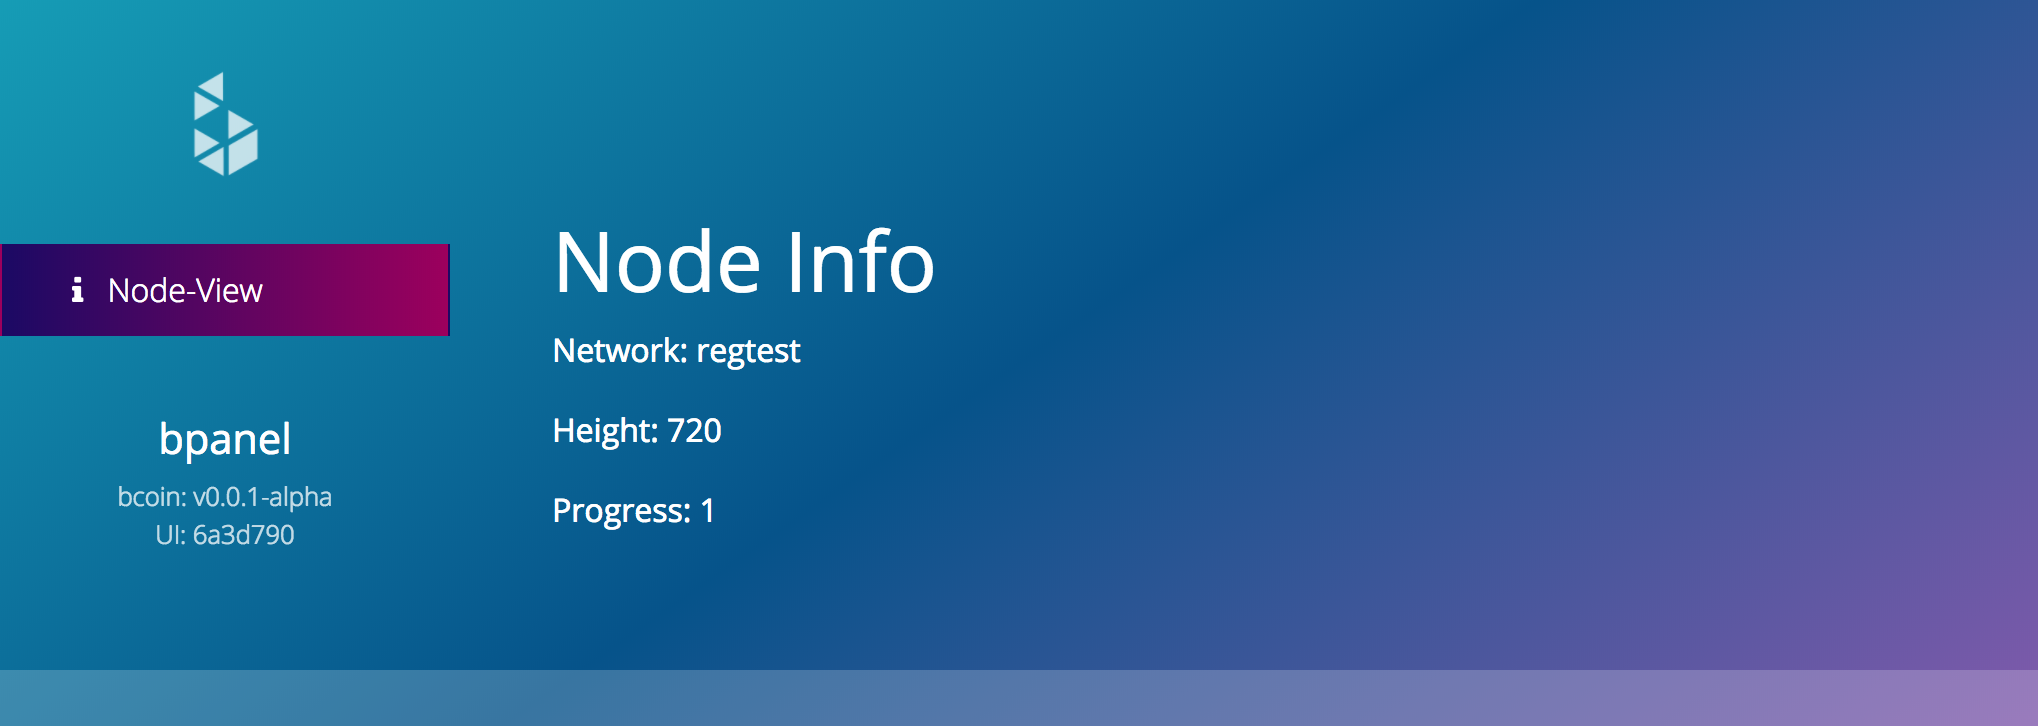
Now, build and refresh bPanel and you should see your node's actual information displayed!
 Your plugin is now displaying live info from your node
6) Connect to sockets
The last step we want to do is add the ability for our Node Info view to update the information shown anytime there is a change on our node. The part of our view that this effects most directly is the chain height (if a new block is found on the network, the height will increase accordingly).
There are going to be a few steps required to setting this up:
- When the socket client first connects, we want to tell our server to watch the chain
- Next, we need to tell our server to
subscribeto theblock connectevent from bcoin and respond with anew blockevent to the client - Then our client has to listen for the
new blockevent and dispatch a new action to our redux store when the event is received - Finally, we need to update the chain height in the store when that action is received
(NOTE: There is already a plugin for bPanel that does most of this for you called chainSockets. To enable it, all you have to do is make sure it's installed in your version of bpanel and added to the plugins list in appConfig. If your plugin requires it, you can add it as a plugin dependency)
To achieve the first couple steps, we're going to need some EMIT_SOCKET actions. Let's add these in another file to keep our index cleaner. Create a file lib/actions.js and add the following code to it:
// lib/actions.js

export function watchChain() {
  return {
    type: 'EMIT_SOCKET',
    bsock: {
      type: 'broadcast',
      message: 'watch chain'
    }
  };
}

export function subscribeBlockConnect() {
  return {
    type: 'EMIT_SOCKET',
    bsock: {
      type: 'subscribe',
      message: 'block connect',
      responseEvent: 'new block'
    }
  };
}
Now we need to import these into our plugin entry point and dispatch them when our sockets connect using a middleware export.
// lib/index.js
import * as actions from 'lib/actions';
...
export const middleware = ({ dispatch }) => next => async action => {
  const { type, payload } = action;
  if (type === 'SOCKET_CONNECTED') {
    dispatch(actions.watchChain());
    dispatch(actions.subscribeBlockConnect());
  }
  next(action);
};
Then, let's add a listener for the new block event that we gave as a responseEvent in subscribeBlockConnect.
// lib/index.js
...
export const addSocketConstants = (sockets = { listeners: [] }) => {
  sockets.listeners.push({
    event: 'new block',
    actionType: 'ADD_NEW_BLOCK'
  });
  return Object.assign(sockets, {
    socketListeners: sockets.listeners
  });
};
...
The block information that comes in the socket is not human readable, so we're going to use a tool from bcoin, the ChainEntry class, to update this information so we can pass it to our reducer.
So let's install bcoin in our project first (also adding it to peerDependencies if you want):
npm install --save-dev bcoin
Next, let's catch the ADD_NEW_BLOCK action type in our middleware and dispatch an action with a payload that our reducers will recognize.
// lib/index.js
import * as actions from 'lib/actions';
...
export const middleware = ({ dispatch }) => next => async action => {
  const { type, payload } = action;
  if (type === 'SOCKET_CONNECTED') {
    dispatch(actions.watchChain());
    dispatch(actions.subscribeBlockConnect());
  } else if (type === 'ADD_NEW_BLOCK') {
    dispatch(actions.updateChain(...payload))
  }
  next(action);
};
Then back in our actions file let's add the updateChain action which will put the data in a form the reducer can recognize and then pass it to the chain reducer (which already has a reducer for SET_CHAIN_INFO); Just for fun, let's also store the block information in a recentBlocks array in the chain state.
// lib/actions.js
import { ChainEntry } from 'bcoin'
...
export const updateChain = (entry) => (dispatch, getState) => {
  const blockMeta = ChainEntry.fromRaw(entry);
  const { height, hash } = blockMeta;
  const chainState = getState().chain;
  const blocks = chainState.recentBlocks
                  ? chainState.recentBlocks
                  : [];
  const newBlocks = [...blocks]; // get mutable version of blocks
  newBlocks.push(hash)
  const updatedChain = {
    height,
    tip: hash,
    recentBlocks: newBlocks
  }

  return dispatch({
    type: 'SET_CHAIN_INFO',
    payload: updatedChain
  });
}
Let's extend our view to also include the recent blocks array. There are only three things we need to do to make that work:
Get the recent blocks from the state
// lib/index.js
...
export const mapComponentState = {
  Panel: (state, map) =>
    Object.assign(map, {
      network: state.node.node.network,
      height: state.chain.height,
      progress: state.chain.progress,
      recentBlocks: state.chain.recentBlocks // add this
    })
};
...
Pass the recent blocks to the route
// lib/index.js
...
export const getRouteProps = {
  [metadata.name]: (parentProps, props) =>
    Object.assign(props, {
      network: parentProps.network,
      height: parentProps.height,
      progress: parentProps.progress,
      recentBlocks: parentProps.recentBlocks // add this
    })
};
...
Display the blocks in the component
// lib/index.js
const NodeInfo = ({ network, height, progress, recentBlocks = [] }) => (
  <div>
    <Header type="h2">Node Info</Header>
    <Text type="p">Network: {network}</Text>
    <Text type="p">Height: {height}</Text>
    <Text type="p">Progress: {progress}</Text>
    <!-- add this -->
    <Text type="p">Recent Blocks:</Text>
    <ul>
    {
      recentBlocks.map((hash, index) => <li key={index}>{hash}</li>)
    }
    </ul>
  </div>
);
The easiest way to test this is if you're running a regtest environment locally. If you're running this against a live network though, you'll have to wait for new blocks to be mined.
Mine a few blocks on regtest with bclient:
bcoin-cli --network=regtest rpc generate 4
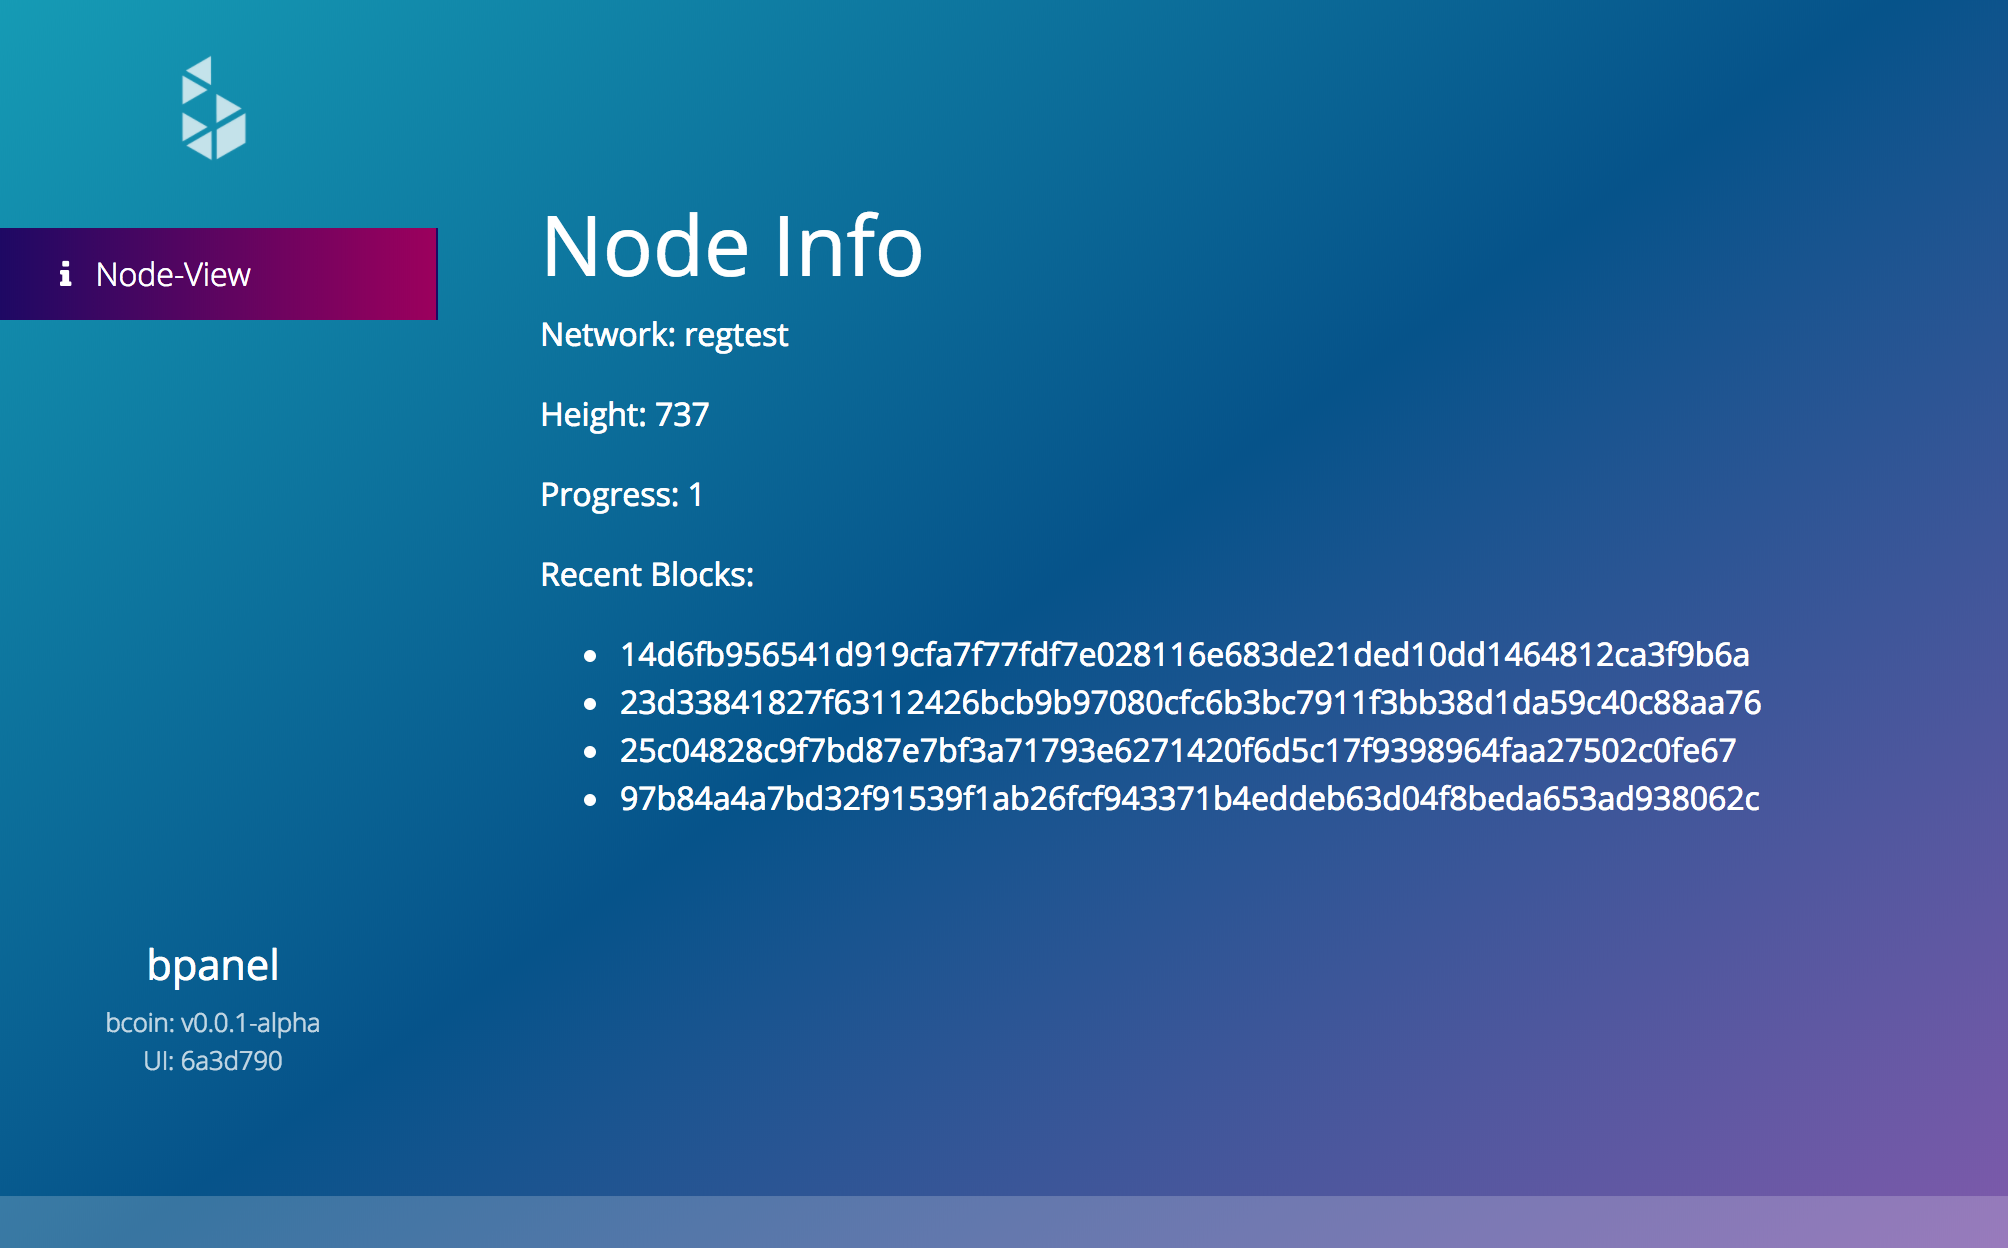
Now check bpanel in your browser and you should notice that, without even refreshing, the height has increased by 4 and recent blocks now shows a list of 4 hashes.
 Plugin showing live updates from your socket connection
7) Publish to NPM
The last step is to add your plugin to npm so that other bPanel users can install and use your plugin with their node!
npm publish
Make sure to save the package to your bpanel's package.json too:
npm install --save node-view
Ideas to extend this plugin
This plugin is pretty naive, and in fact actually reimplements some functionality that is already available with default bPanel plugins (e.g. chainSockets). Hopefully though this gives you an idea of how powerful plugins can be and the types of functionality they allow for extending bPanel.
Some ideas on how you can extend this naive node info view:
- Add more information about your node such as the genesis block
- Update the progress using sockets to show the progress of a syncing node
- Add more styles to the view
- Display more block information
- Display information about peers your node is connected to
This is all possible with the plugin extension system introduced here! If you have a plugin that other users might find useful, let us know so we can share it in our plugin showcase.
