Quick Start
bPanel is still in alpha, so while we wish there was a one click install (and it is on the road map), there is a small amount of setup required to get things running first.
- Easy Setup
- Advanced Setup (useful for dev enviroments)
- Setup without docker
- Connecting to your own node
Easy Setup
First, download the project files with the link below:
Configuration for the quick start with docker is all done with the local docker-compose.yml file.
If you don't have docker installed locally, download and install here:
To spin up a bPanel http server, a bcoin node on regtest, and mine some blocks (and generate lots of fake Satoshis for you to play with), navigate to the project repo in your terminal and run:
$ npm install && docker-compose up
The first run can take a while since there are a few packages that need to be downloaded and built.
Please be patient. Once everything is done, you should be able to see bPanel running in your browser at
http://localhost:5000
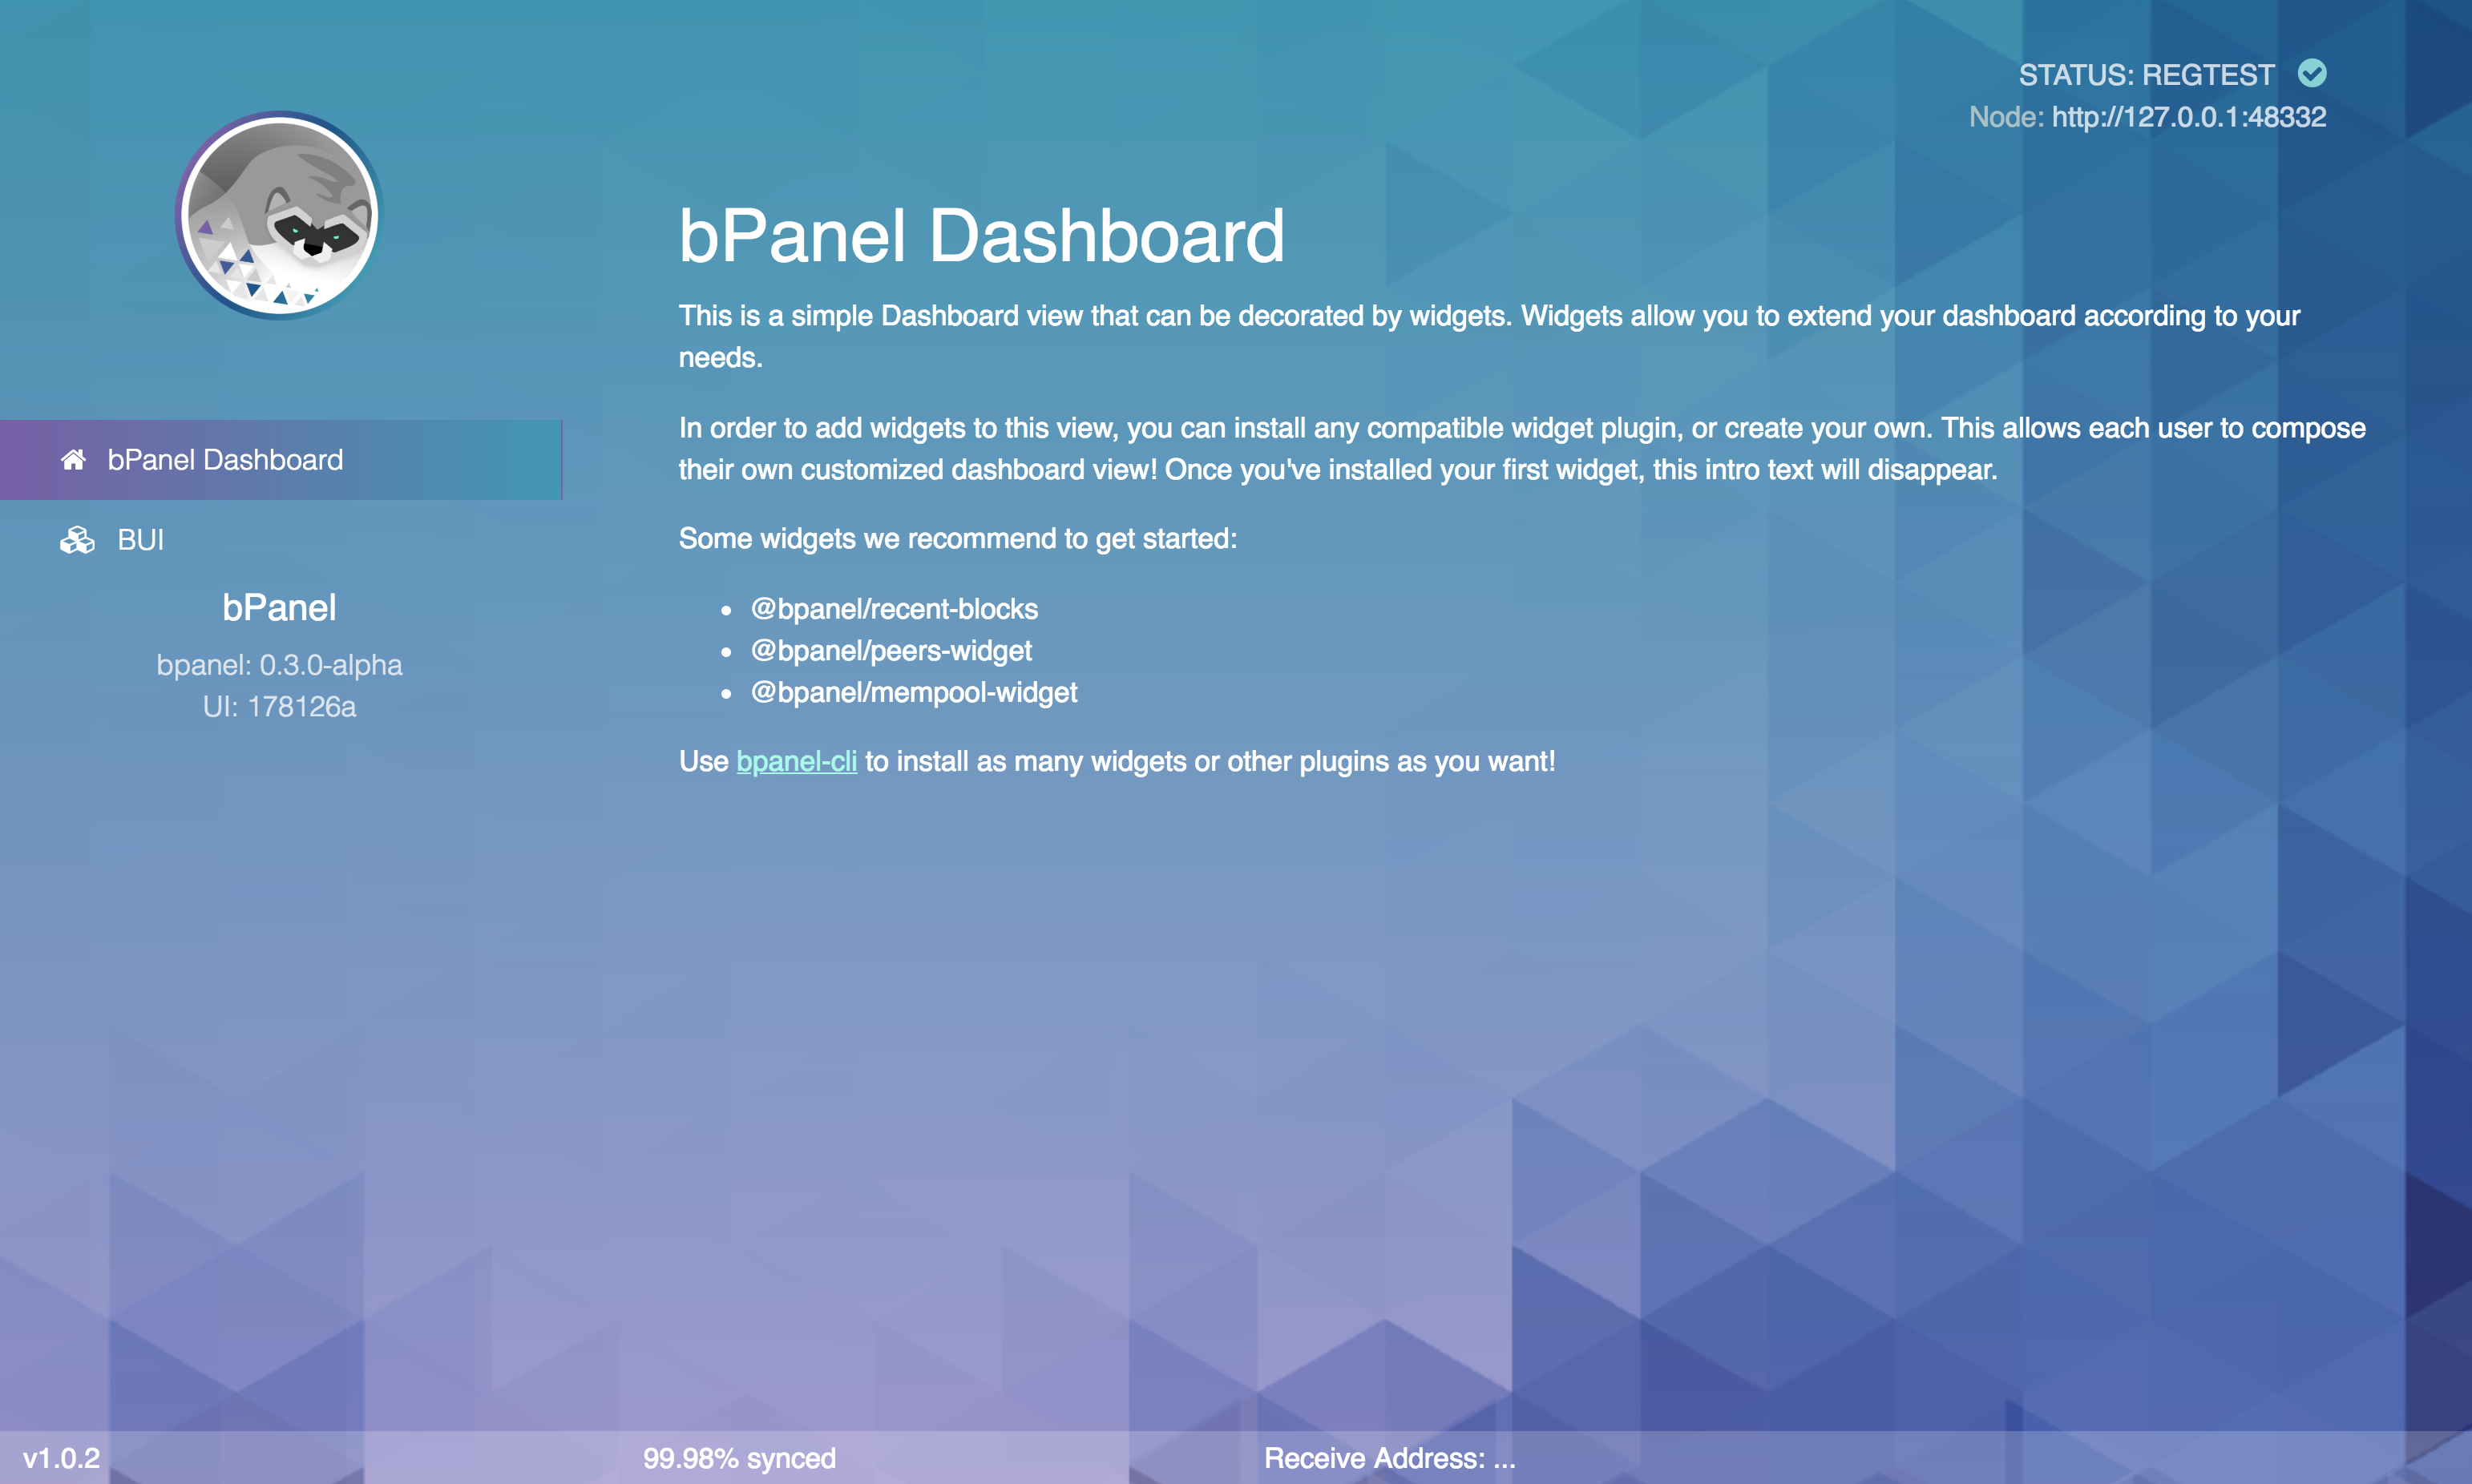
 You should see something like this once you're set up
Installing Plugins
The initial build of bPanel isn't particularly useful. Plugins are the real workhorses of the bPanel system though so let's start installing some plugins to play with.
Back in your terminal, install bpanel-cli:
$ npm install -g @bpanel/bpanel-cli
Once installed, you can see all the available commands by typing
$ bpanel-cli --help
List currently installed plugins with bpanel-cli list, search for new plugins with bpanel-cli search
and install new plugins with with bpanel-cli.
Let's install some useful plugins to get you started. Copy and paste the following into your terminal:
$ bpanel-cli install @bpanel/simple-mining @bpanel/simple-wallet @bpanel/recent-blocks @bpanel/mempool-widget
You can even change how bPanel looks by installing a new skin:
$ bpanel-cli install @bpanel/bdark-theme
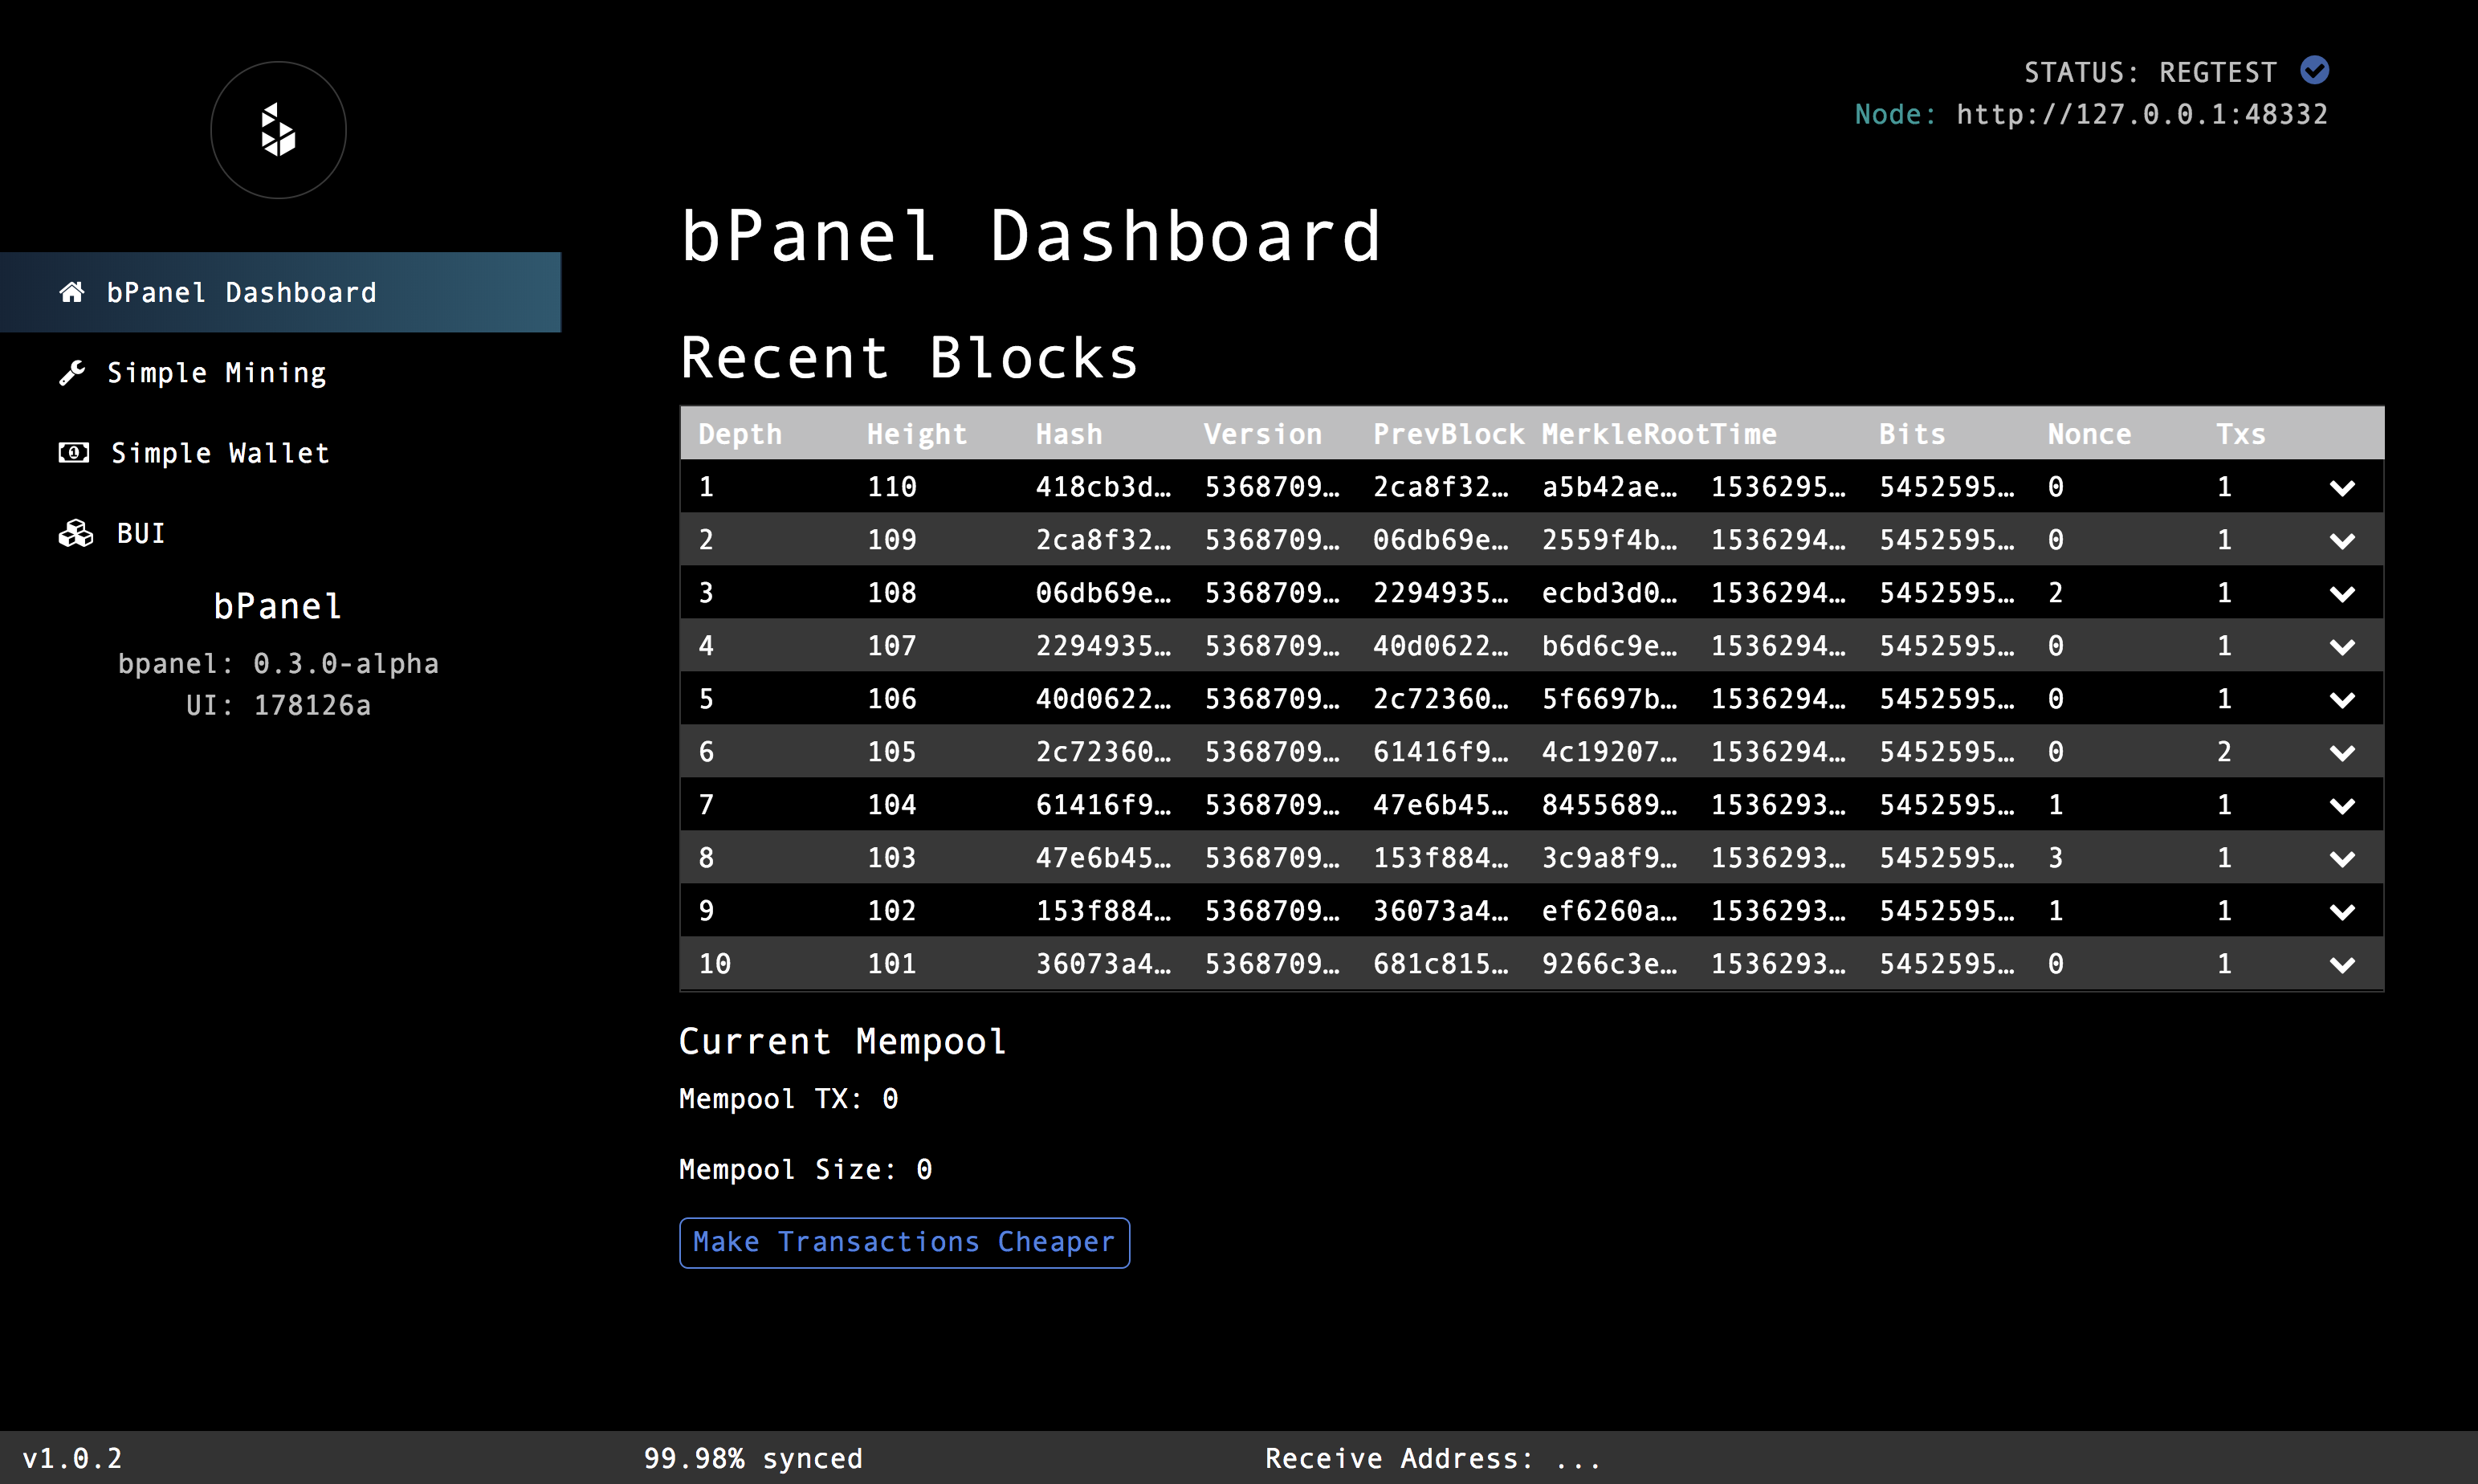
Once the plugins have been downloaded and installed, reload the page and you'll see how your bPanel has been transformed!
 bPanel with some extra plugins
and a new theme
You can read more about plugins here and about developing your own here.
Advanced Setup
This is primarily a setup for development purposes (though it could be used in production with some modification).
Running with docker
To start the application, clone the repository and navigate to the root of the project.
- Run
npm installto setup dependencies and configuration directories. - Run
docker-compose up -d - Navigate to http://localhost:5000 or https://localhost to see your webapp (might take a few minutes if running for the first time).
This will build the web application, start the http server, reverse proxy, bcoin node and wallet server in containers.
Persistent DBs
To persist your bcoin node information (and skip the setup if the walletdb is persisted), uncomment and edit the volumes in the bcoin service (this should be uncommented by default). This is useful if you're working on testnet or mainnet and don't want to wait for a full sync to happen every time you create a new container.
Running without docker
If you want to run bPanel outside of the container, e.g. for development purposes:
- Run
npm install - Run
docker-compose up -d bcointo run just the bcoin service as a background daemon - For mac users, run
npm run start:pollotherwise runnpm run start:dev. Add-- --client-id=_dockerto the end of the command to indicate you want to connect to the docker container. - Navigate to http://localhost:5000 to see your webapp.
Requests to /bcoin are routed to the bcoin node.
Requests to /bwallet are routed to the bcoin wallet server.
Connecting to your own node
bPanel can be run entirely independent of any local bcoin node. This can be
using configuration files. If you already have configuration files setup
in ~/.bpanel/clients, just pass in the id of the conf file when starting up
bPanel
npm run start:poll -- --client-id=my-conf
Read more about bPanel configuration here.
Extending bPanel
The bPanel UI is built entirely around plugins. All visual elements can be extended or overridden via the plugin system including the header, footer, sidebar, and main panel/view element. To get started making your own plugin, use the bPanel-cli
Server extensions
The simplest thing to do, is to create your own server file that includes server/index.js.
const bpanel = require('./index.js')({
  network: 'main', // Put bPanel configs here (optional)
});
const app = require('express')();
app.use( /* Put your own middleware here */ );
app.use( bpanel );
app.listen();
